

DIY Corner TV Stand: A Step-by-Step Central Florida Guide

A lot of living rooms in Longwood, Lake Mary, and across Central Florida have the same problem. The TV belongs in the corner, but the furniture that fits that corner rarely feels intentional.
That's where a DIY corner TV stand can make real sense. It turns an awkward angle into useful storage, keeps the room open, and gives a television a proper home without eating up the main wall. For homeowners dealing with compact family rooms, apartments, or flexible spaces that have to serve more than one purpose, that kind of layout efficiency matters.
A thoughtful build can look clean, work hard, and feel custom to the room. It also needs to survive real life in a Florida home, where humidity, sunlight, uneven floors, and cable clutter all show up fast if the project wasn't planned well.
Table of Contents
- Reclaiming Your Space with a DIY Corner TV Stand
- Planning Your Project Like a Professional Designer
- Your Cut List and Step-by-Step Assembly Guide
- Finishing Touches for Florida's Climate
- Ensuring Safety Stability and Smart Organization
- The DIY Dilemma When to Build and When to Choose Custom
Reclaiming Your Space with a DIY Corner TV Stand
Saturday morning is when this project usually makes sense. The TV is parked on a piece that never quite fit, cords are visible from the hallway, and the corner keeps collecting clutter because nothing was built for it.
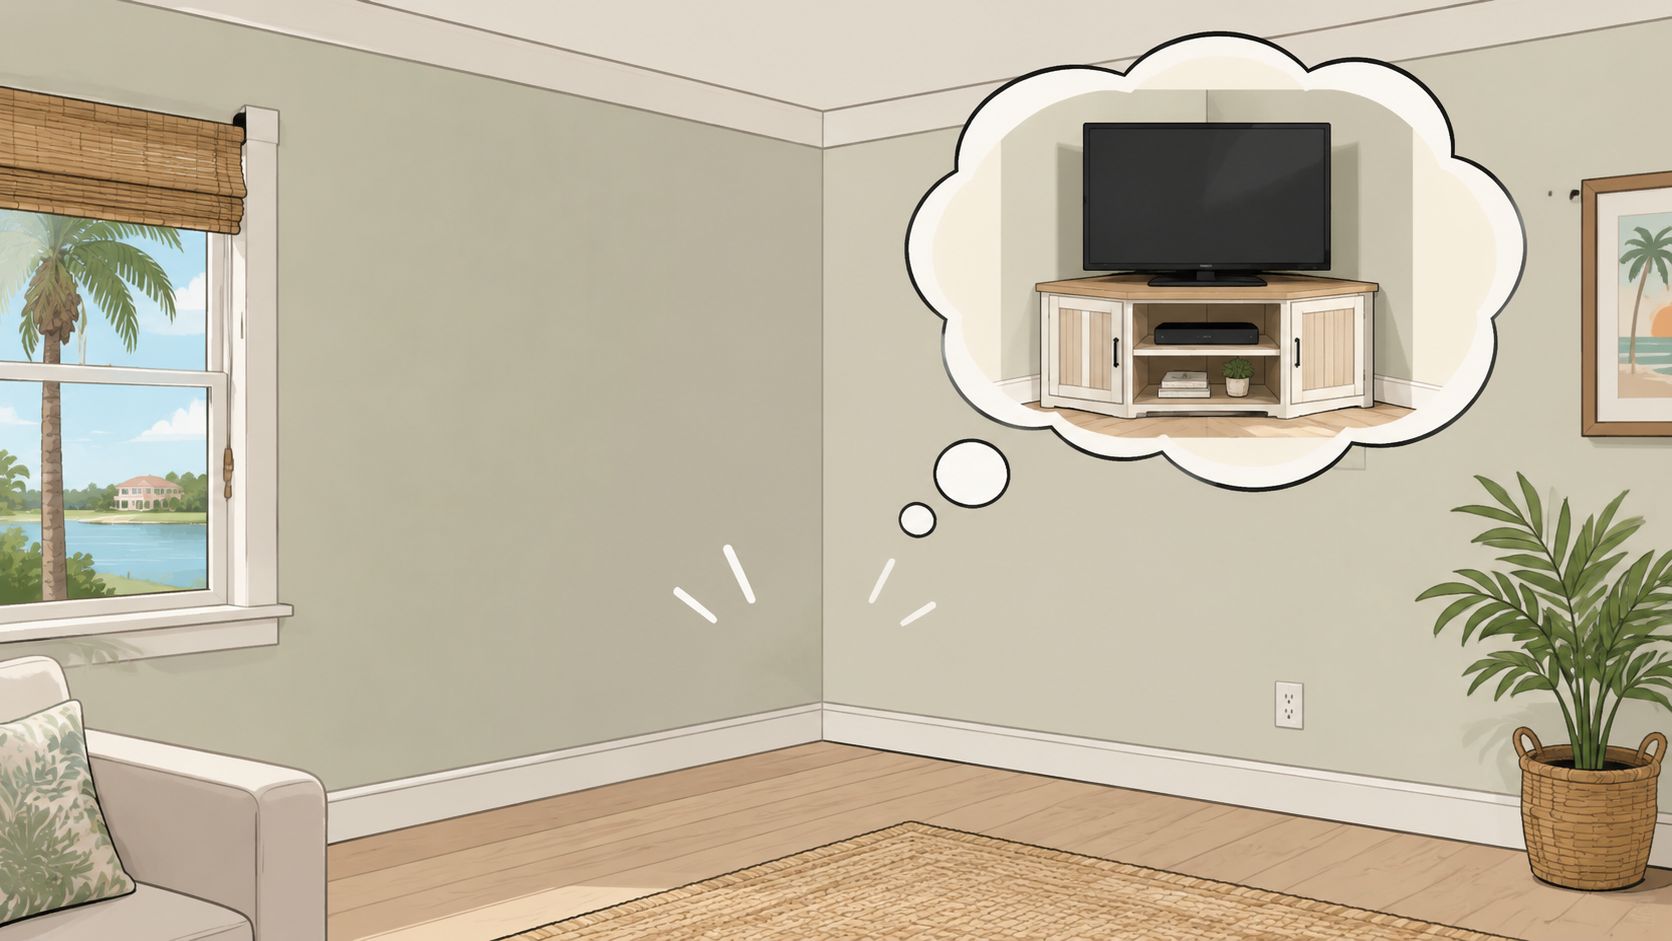
A DIY corner TV stand earns its keep by solving a real layout problem. It puts the screen where the room can handle it, frees up a longer wall for seating or artwork, and gives streaming boxes, game consoles, and remotes a home instead of letting them spread across the room. In many Central Florida homes, that matters more than people expect. Living rooms often need to do several jobs at once, and a corner piece can keep the space from feeling boxed in.
That is also why this build deserves more thought than a basic weekend shelf project. A stand in a Florida home has to deal with shifting humidity, uneven walls, tile floors, and the weight of modern electronics. A quick build can work well if the goal is simple and the expectations are realistic. If you want furniture that looks fitted, stays square over time, and still feels solid years from now, build quality starts to matter fast.
For some rooms, a corner stand is the better answer than a full wall feature. For others, the corner solution is a stepping stone toward a more permanent entertainment setup. If you want to compare the visual impact of both approaches, Stunning media wall designs gives useful inspiration before you commit to a footprint.
Why corner placement works so well
Corners are often underused because standard furniture is built for flat walls. A corner stand uses that tucked-away area without pushing too far into the room. The result is practical and visual at the same time.
A well-proportioned corner stand can help with several common problems:
- It puts unused square footage to work: The corner stops being wasted space.
- It preserves the main wall: That leaves room for larger art, windows, or a cleaner seating layout.
- It reduces visual bulk: The room feels calmer when a long console is not stretching across one side.
- It hides the usual media clutter: Shelves and enclosed storage keep devices and accessories under control.
- It gives cords a better path: Angled placement naturally creates room behind the unit for cable routing.
In smaller homes and condos, that shift can change the whole room. The same design logic shows up in broader advice on making a small room feel big, especially when the goal is to open up sightlines and keep furniture from overpowering the walls.
What this kind of project does well
DIY works best here when the design is clean and honest. Straight panels, open shelving, painted finishes, and simple doors are achievable for many weekend builders with careful measuring and patience. That kind of project can look good and function well.
Where DIY usually starts to show its limits is in the details. Tight reveals around doors, durable finish work, dead-flat tops, and joinery that stays stable through Florida humidity are harder than they look. I tell neighbors the same thing we tell clients at Slone Brothers. Build it yourself if you want a useful piece, enjoy the process, and can accept a few imperfections. Choose custom if you want furniture that has to carry real visual weight in the room and hold up for the long haul.
A good corner stand gives that awkward part of the room a job. A great one does that while still looking intentional years later.
Planning Your Project Like a Professional Designer
A corner TV stand can look straightforward on paper, then fight you in the room for three straight hours. That usually happens because the builder sized the cabinet to a sketch instead of the actual corner.
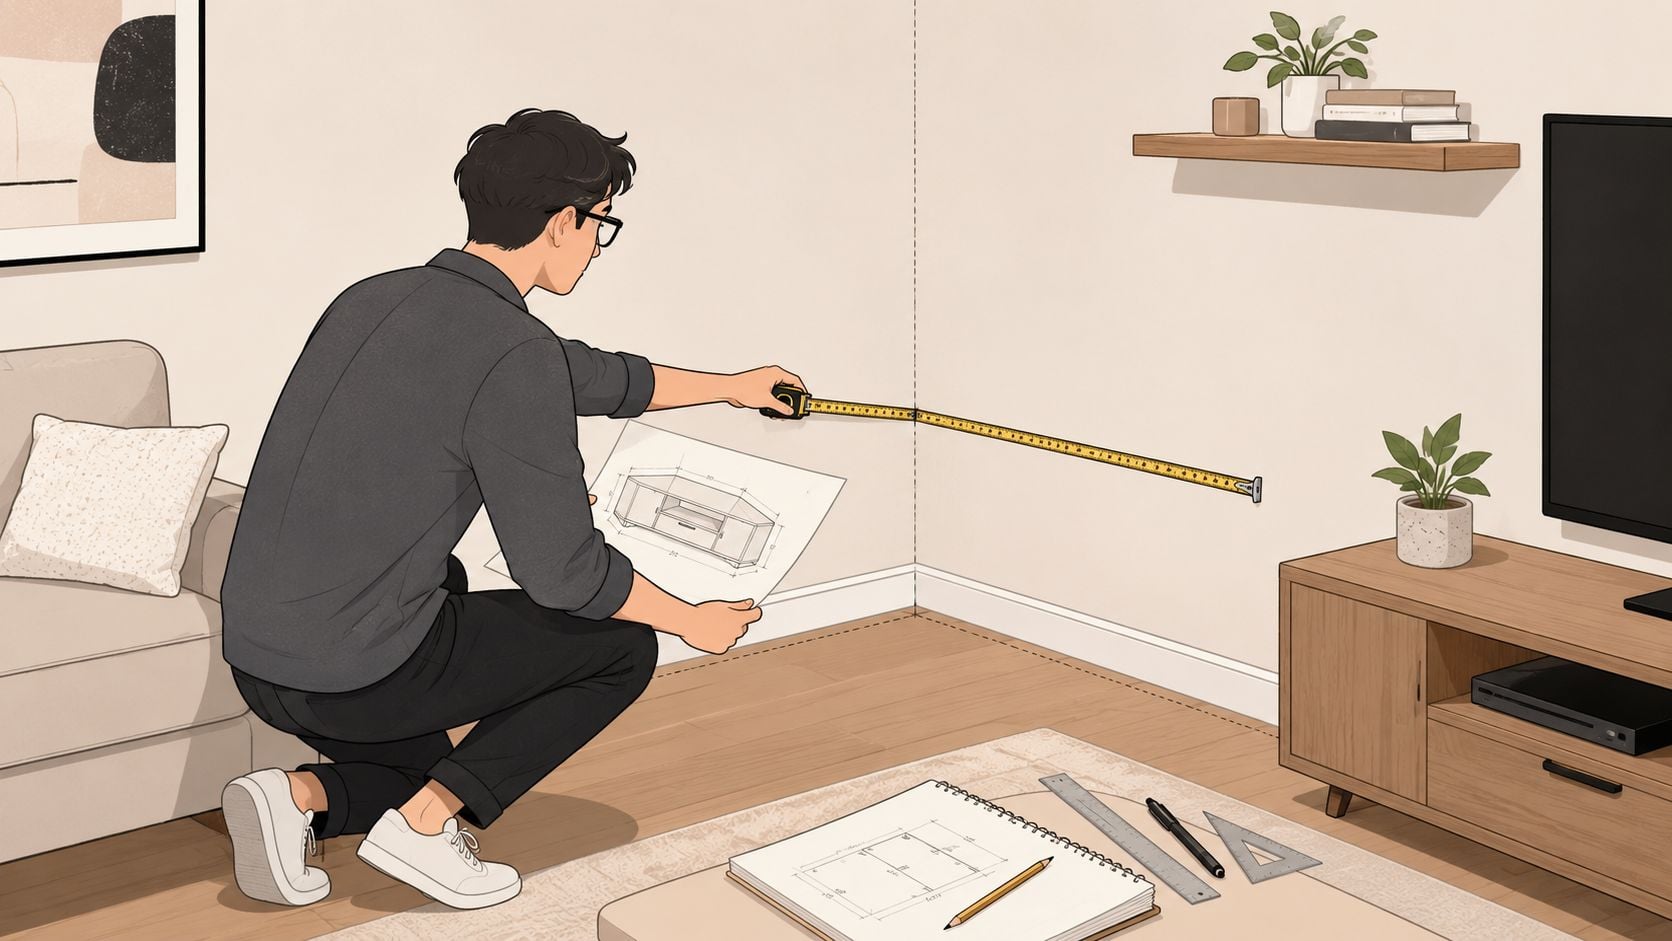
The first job is reading the room like a furniture designer would. Measure the corner angle, confirm how far the baseboards project, check the floor for a dip, and note anything that will affect the cabinet once it is pushed tight to the wall. In Central Florida homes, small framing irregularities are common, and humidity tends to expose sloppy planning later through shifted joints, uneven reveals, and finish problems.
Start with the room, not the cut list
I always tell people to measure the house first and the TV second. A cabinet can be built perfectly square and still fit poorly if the walls are not. One side binds, the opposite side leaves a gap, and suddenly a clean design looks homemade for the wrong reason.
A practical planning checklist looks like this:
- Check the corner angle: Confirm the walls meet the way you expect.
- Measure the TV base: Use the footprint that sits on the stand, not the screen size on the box.
- Set viewing height from your seating: Comfort depends on where your eyes land when you are seated.
- Find studs if you may anchor the piece: This matters if the stand is tall, heavy, or paired with a mounted TV.
- Measure trim and baseboards: Even small projections can throw off the fit.
- Mock up the footprint on the floor: Painter's tape or cardboard shows quickly whether the piece will crowd walkways or feel undersized.
A stand that matches the drawing but misses the room is still a poor build.
For homeowners trying to get the stand to work with the rest of the space, planning a room layout for traffic flow and seating helps you size the piece as part of the whole room instead of treating it like an isolated box in a corner.
Plan the function before you buy lumber
This is the point where a lot of DIY projects drift off course. Builders buy material because it is available, then try to force the design to match it. Professional planning goes the other way around.
Decide what the stand needs to do. Will it hold a soundbar, gaming console, router, or cable box. Do you want open shelving for airflow, or doors to hide clutter. Will the top carry only a TV, or does it need enough stiffness to stay flat under heavier use over time. Those answers affect panel thickness, shelf spans, back openings for cords, and the type of joinery that makes sense.
For a Florida home, material and finish choices deserve more thought than they would in a drier climate. Sheet goods are often a smart choice for stability, but the edge treatment and finish schedule still matter. Painted pieces can look sharp, but they also show movement and prep mistakes fast. Solid wood trim adds character, though it needs room to move with seasonal humidity changes. Homeowners weighing those trade-offs across a larger project may find the Homeowner's guide to Florida remodels useful.
A strong plan usually covers four decisions:
| Focus | What to decide |
|---|---|
| Structure | Overall footprint, shelf spans, top thickness, and how weight is carried |
| Joinery | Fasteners, glue surfaces, cleats, and where extra support is needed |
| Function | Device clearance, cord routing, door swing, ventilation, and storage type |
| Finish | Paint, stain, or clear coat based on light exposure, humidity, and expected wear |
Good DIY furniture starts with accurate measurements. Better furniture starts with foresight. That is the difference between a stand that works for a season and one that still looks right after years of Florida heat, humidity, and everyday use.
Your Cut List and Step-by-Step Assembly Guide
Good assembly starts on paper, not at the saw.
For a corner TV stand, a clean cut list does two jobs. It keeps the build efficient, and it reveals problems before they turn into wasted plywood, crooked joints, or shelves that do not fit your equipment. In our shop, that planning step is usually what separates a satisfying weekend build from a cabinet that looks homemade in the wrong way.
A practical cut list for this project usually includes:
- Top panel: Shaped to meet the corner cleanly without excessive overhang
- Bottom panel or base frame: The footprint that carries the weight
- Two side panels: The pieces that set depth and overall height
- Angled rear pieces or back supports: The parts that determine how well the stand nests into the corner
- Shelves: Sized for the components you own now, with room for airflow and future changes
- Face frame, trim, or door parts: Optional, but often worth the time if you want the piece to read more like furniture than shop cabinetry
If you have not checked the room dimensions one more time, do that before cutting. Corners are unforgiving, and a stand that is off by even a little can leave awkward wall gaps or pinch the walking path. For a quick refresher on room fit, corner clearance, and furniture footprint, use this guide on how to measure furniture.
A material plan that stays realistic
Build around common sheet sizes and standard boards whenever possible. That keeps your cuts efficient and gives you a better chance of replacing a part if one gets damaged during assembly.
For many DIY builders, the most practical combination is a stable sheet material for the main case and solid wood only where it adds value, such as trim, a face frame, or a thicker-looking top edge. That approach controls cost and helps the cabinet stay straighter in a humid Florida home. It also reduces the amount of seasonal movement you have to account for.
If you plan to paint the stand, MDF can produce a smooth painted surface, but it needs careful sealing and edge prep to hold up well. This guide to painting MDF is a useful reference if you are considering it for doors, trim, or painted panels.
A build order that keeps the cabinet square
Assemble the outer shell first. Leave shelves, trim, and decorative details until the cabinet is confirmed square and sitting flat.
Use this sequence:
- Cut and label every part before assembly starts.
- Dry-fit the base, sides, and rear angle pieces in the room to confirm the footprint.
- Assemble the base or bottom section on a flat surface.
- Attach the side panels and rear structure and check for square at each step.
- Add internal supports for the top and any long shelf spans.
- Install shelves only after the case is true so you do not lock a twist into the cabinet.
- Fasten the top panel last once the stand sits correctly against the walls.
- Apply trim, doors, or back panels after the structure is stable.
Dry-fitting matters here. A corner unit can look accurate on the bench and still miss the walls in the room if the angles drift during clamping.
Hidden screw joinery is a practical choice for a build like this because it is fast, strong enough for many home projects, and easy to conceal. It still depends on accurate cuts. Screws pull parts together. They do not correct a bad angle or a bowed panel. If the stand is meant to carry a heavier television, stone decor, or years of daily use, add cleats, stretchers, or a thicker top support system instead of relying on fasteners alone.
Shelf spacing and cable access
Plan the inside around the equipment, not the other way around.
Measure the tallest device, then add breathing room above it so heat can dissipate. Mark plug locations before cutting rear openings, because a centered hole is not always the right hole. A cable opening should sit where cords naturally fall, and it should be large enough to avoid crimping HDMI heads, power blocks, and surge-strip cords against the wall.
A few practical rules help:
- Keep the rear opening close to outlet and plug locations
- Leave open space above warm-running electronics
- Avoid very shallow shelves if the stand will hold receivers or game consoles
- Provide a path to swap components later without taking the cabinet apart
One mistake shows up often in DIY corner stands. Builders focus on the front view and forget what happens behind it. Then the stand ends up pulled several inches off the wall because the plugs, cable bends, or ventilation needs were never allowed for.
The strongest DIY results usually come from restraint. Keep the lines simple, support the top properly, and spend your time on fit. Decorative complexity can wait. In a Florida home, long-term durability usually comes from sound proportions, stable materials, and careful assembly. That is also the point where custom furniture starts to earn its keep. A professionally built piece can account for corner geometry, equipment load, finish schedule, and humidity from the start, which is hard to match on a first or second weekend build.
Finishing Touches for Florida's Climate
A corner TV stand can be square, sturdy, and nicely built, then still look tired within a year if the finish was treated as the easy part. In Central Florida, finish failure shows up fast. Sunlight fades color, indoor humidity slows curing, and day-to-day wiping and bumping wear through weak topcoats sooner than many DIY builders expect.
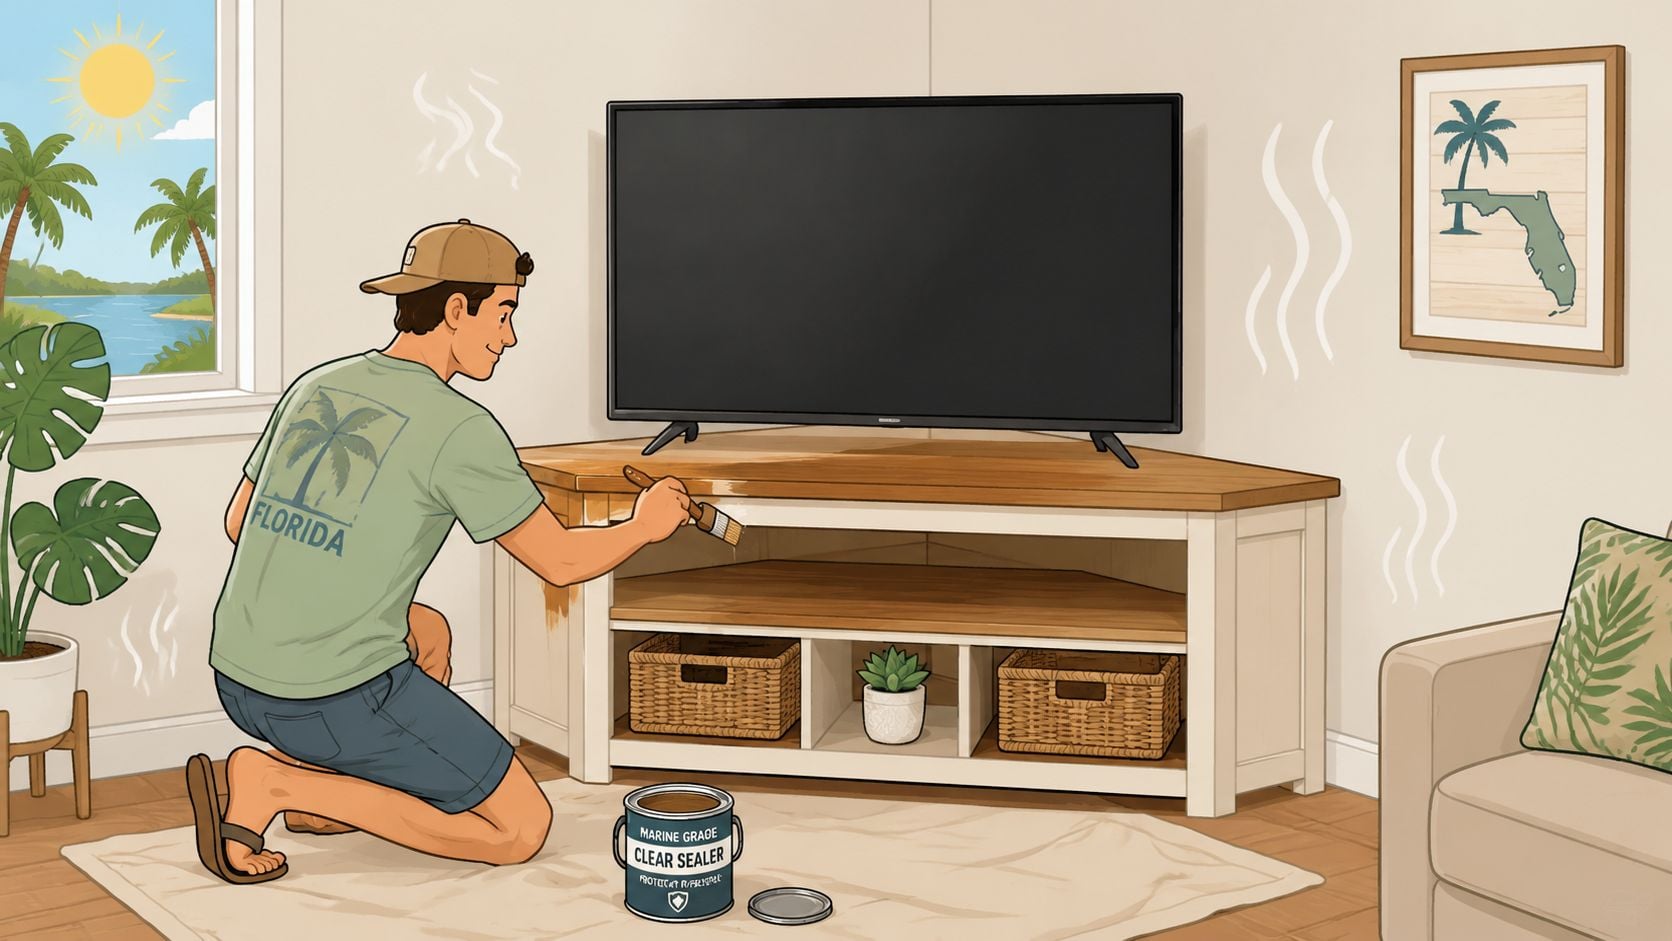
The finish needs to be part of the build plan from the start. That means choosing materials with the final surface in mind, filling and sanding edges before assembly closes everything in, and giving each coat enough time to cure in the actual conditions of your garage or shop. A stand near a bright window in Sanford or Lake Mary will age differently than one in a shaded family room, so placement should influence your finish choice.
Paint is often the smarter DIY route for a first corner stand. It hides minor plywood patching, softens grain mismatch, and gives you more control over the final look. Stain can look excellent, but it exposes every sanding scratch, glue spot, and uneven edge. On a weekend project, that trade-off matters.
For paint-grade builds, edge prep is usually what separates a homemade look from a clean furniture look. Plywood edges need filling or banding. Fiberboard parts need sealing before primer, especially on cut edges and profiles. If your design includes those materials, this guide to painting MDF covers the basics well.
A finish schedule that holds up in Florida is simple, but it takes patience:
- Sand in a consistent progression: Random scratch marks telegraph through paint and clear coats.
- Vacuum and wipe off dust between steps: Fine dust leaves rough spots and weak bond lines.
- Seal porous edges before primer: Raw edges drink up finish and stay fuzzy if you skip this.
- Use thin, even coats: Thick coats sag, cure slowly, and mark more easily in humid weather.
- Give each layer real dry time: Dry to the touch is not the same as ready for the next coat.
- Protect the top surface well: The top gets the most light, cleaning, and daily abrasion.
One practical tip from our design team at Slone Brothers is to finish sample scraps first. Test your primer, paint, or clear coat on offcuts from the same sheet goods you used in the stand. You will see edge swelling, blotching, or sheen problems before they end up on the cabinet itself.
Routine maintenance matters too. A well-finished stand lasts longer if it is cleaned correctly and kept out of harsh direct sun when possible. Our guide on how to care for wood furniture covers the habits that help a piece stay presentable in a Florida home.
DIY finishing can absolutely produce a good result. The limit is consistency. If you want a painted stand that looks clean for a few years, careful prep and patience usually get you there. If you want a piece that still looks right after long-term humidity swings, sunlight, and family use, professional finishing and material selection usually earn their higher upfront cost.
Ensuring Safety Stability and Smart Organization
A TV stand can look finished and still be unsafe. That's the part many casual plans skip.
Modern setups rarely involve only a television. There's usually a soundbar, a game console, a streaming device, and a tangle of power and signal cables. That means the cabinet has to manage weight, vibration, movement, and access without loosening up over time.
Where homemade stands usually get into trouble
One recurring concern in DIY guidance is structural safety for larger TVs. Practical repair and build advice points to safer joinery choices, the use of corner braces or back panels for stability, and leveling on uneven floors to reduce wobble and joint stress in this structural-safety discussion. That tracks with what furniture designers see all the time. Wobble usually starts small, then gets worse because the cabinet never carried weight evenly in the first place.
The weak points are predictable:
- Narrow or under-supported tops: These flex more than people expect.
- Loose rear structure: Without enough bracing, the cabinet can rack side to side.
- Unleveled placement: An uneven floor shifts stress into only part of the frame.
- Overloaded shelves: Media devices are compact, but they add up.
If the stand rocks before the TV goes on top, the stand isn't ready. No amount of styling can fix that.
Back panels do more than hide cords. They help resist racking. Corner braces can also be useful when the cabinet design is simple and needs extra stiffness in the frame. Neither should be treated as an afterthought.
Organization that supports the structure
Good organization isn't only about appearances. It affects heat, access, and how often the cabinet gets pushed, dragged, or twisted during everyday use.
A smarter setup includes:
| Area | Better practice |
|---|---|
| Top surface | Keep only the TV or the few items that belong there |
| Shelves | Place heavier devices on the stronger, lower levels |
| Cord routing | Group cables so they don't snag when equipment is moved |
| Floor contact | Shim or level the stand so all support points carry weight |
For comfortable placement in the room, calculating the best placement for a sofa and television helps connect cabinet height and TV position to real viewing comfort. That's worth considering before the stand becomes permanent.
A stable stand feels quiet. Doors close without shifting the case. The top doesn't tremble when a console drawer opens. Nothing scrapes because the frame stayed true. That's the standard worth building toward.
The DIY Dilemma When to Build and When to Choose Custom
DIY is appealing for good reason. It can solve a space problem, create a custom fit, and leave a homeowner with a real sense of ownership over the room.
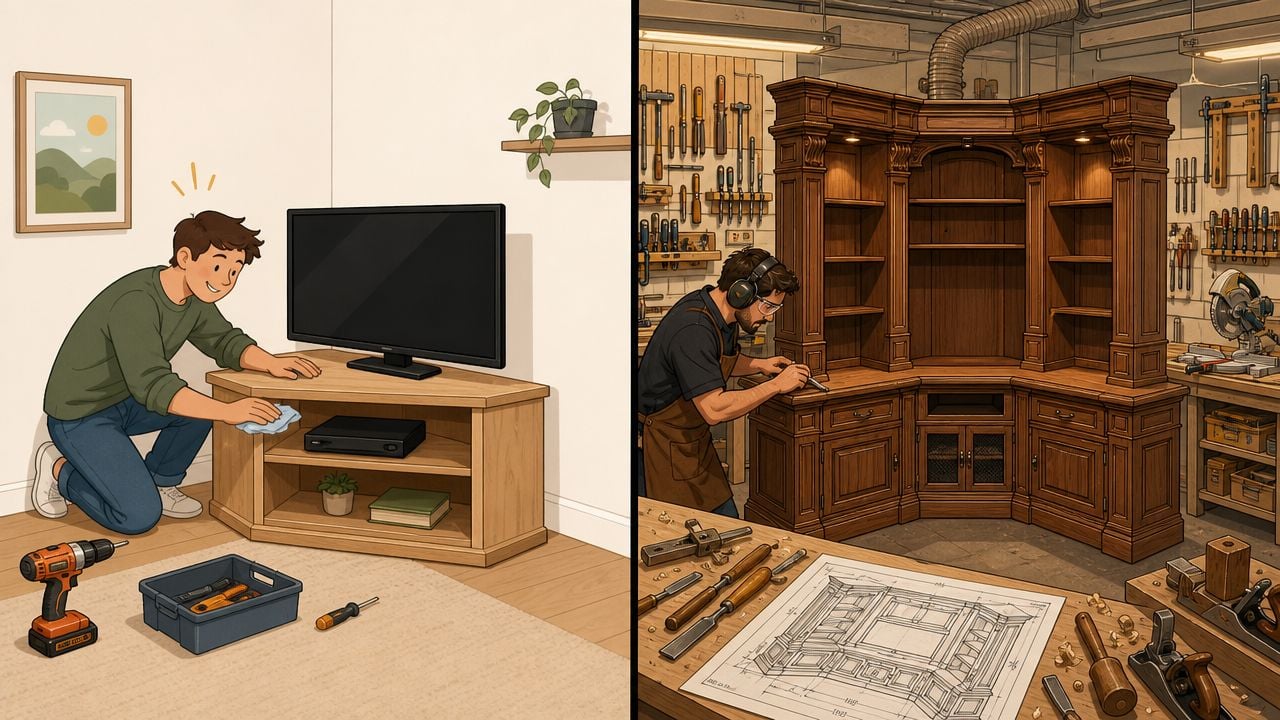
Still, not every corner TV stand should be a weekend project. Some homes call for a cleaner level of joinery, a more refined finish, or long-term durability that's easier to achieve in a professional furniture shop than in a garage.
When DIY is the right call
A home-built stand is usually the right choice when the priorities are practical:
- The room has an awkward corner that standard furniture doesn't fit well.
- The design is simple and doesn't depend on complex doors or intricate trim.
- The homeowner enjoys the process and has the tools to cut and assemble accurately.
- A painted or casual look fits the room and minor imperfections won't stand out.
This approach can be especially sensible for secondary living spaces, apartments, and flexible rooms where storage and fit matter more than heirloom construction.
When custom furniture is the smarter investment
The equation changes when the piece needs to do more than fit alone. If the goal is fine hardwood, a furniture-grade finish, precise door alignment, or a style that has to live beautifully in the room for years, professionally built furniture usually delivers better long-term value.
That's where custom ordering often makes more sense than building from scratch. Custom furniture made simple outlines how homeowners can choose dimensions, materials, and finishes with professional guidance rather than compromising around a stock size. For a corner media piece, that matters. The right depth, wood species, hardware, and finish can turn a difficult corner into one of the strongest features in the room.
This is also where brand construction differences become meaningful. Simply Amish and Mavin are relevant for homeowners who want American-made or Amish-crafted quality with a more furniture-grade result. Canadel is useful when customization and finish flexibility matter. Those options won't replace the satisfaction of DIY, but they do solve the problems DIY struggles with most consistently: precision, longevity, and finish consistency in a Florida home.
There's also the time factor. A homemade stand costs effort long after the lumber is purchased. Cutting, fitting, sanding, painting, leveling, and troubleshooting all take real hours. For some homeowners, that's part of the fun. For others, it's the point where custom furniture becomes the more sensible path.
Ready to find the perfect piece for your home? Visit the Slone Brothers Furniture showroom in Longwood, FL, and let the design experts help you get started. Since 1980, this local, family-owned team has helped Central Florida homeowners weigh practical DIY ideas against long-term furniture solutions, including custom-order options, American-made craftsmanship, and corner-friendly entertainment pieces that fit the room the right way.


